Yellow chamomile (Anthemis tinctoria) Yellow chamomile, (E) Family: Compositae
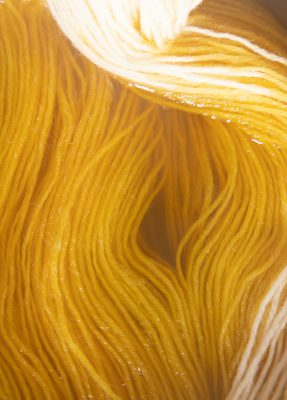
Dyes: bright yellow-olive green From Southern Europe, different types of chamomile, including the yellow chamomile, have found their way into all countries of Europe over the centuries.
The yellow flower heads are used to extract quercetin. With this ingredient you get bright yellow to olive green colors. Yellow chamomile is also called dye chamomile, which can be seen from the suffix tinctoria which means 'used as a dye'. You can also grow the plants yourself in a sunny, dry and stony spot. When they are in full bloom in the summer you can harvest them and let them dry.
The yellow chamomile…
This is one of the products for natural dyes, which are described in Anja Schrik's book Eco-verf.
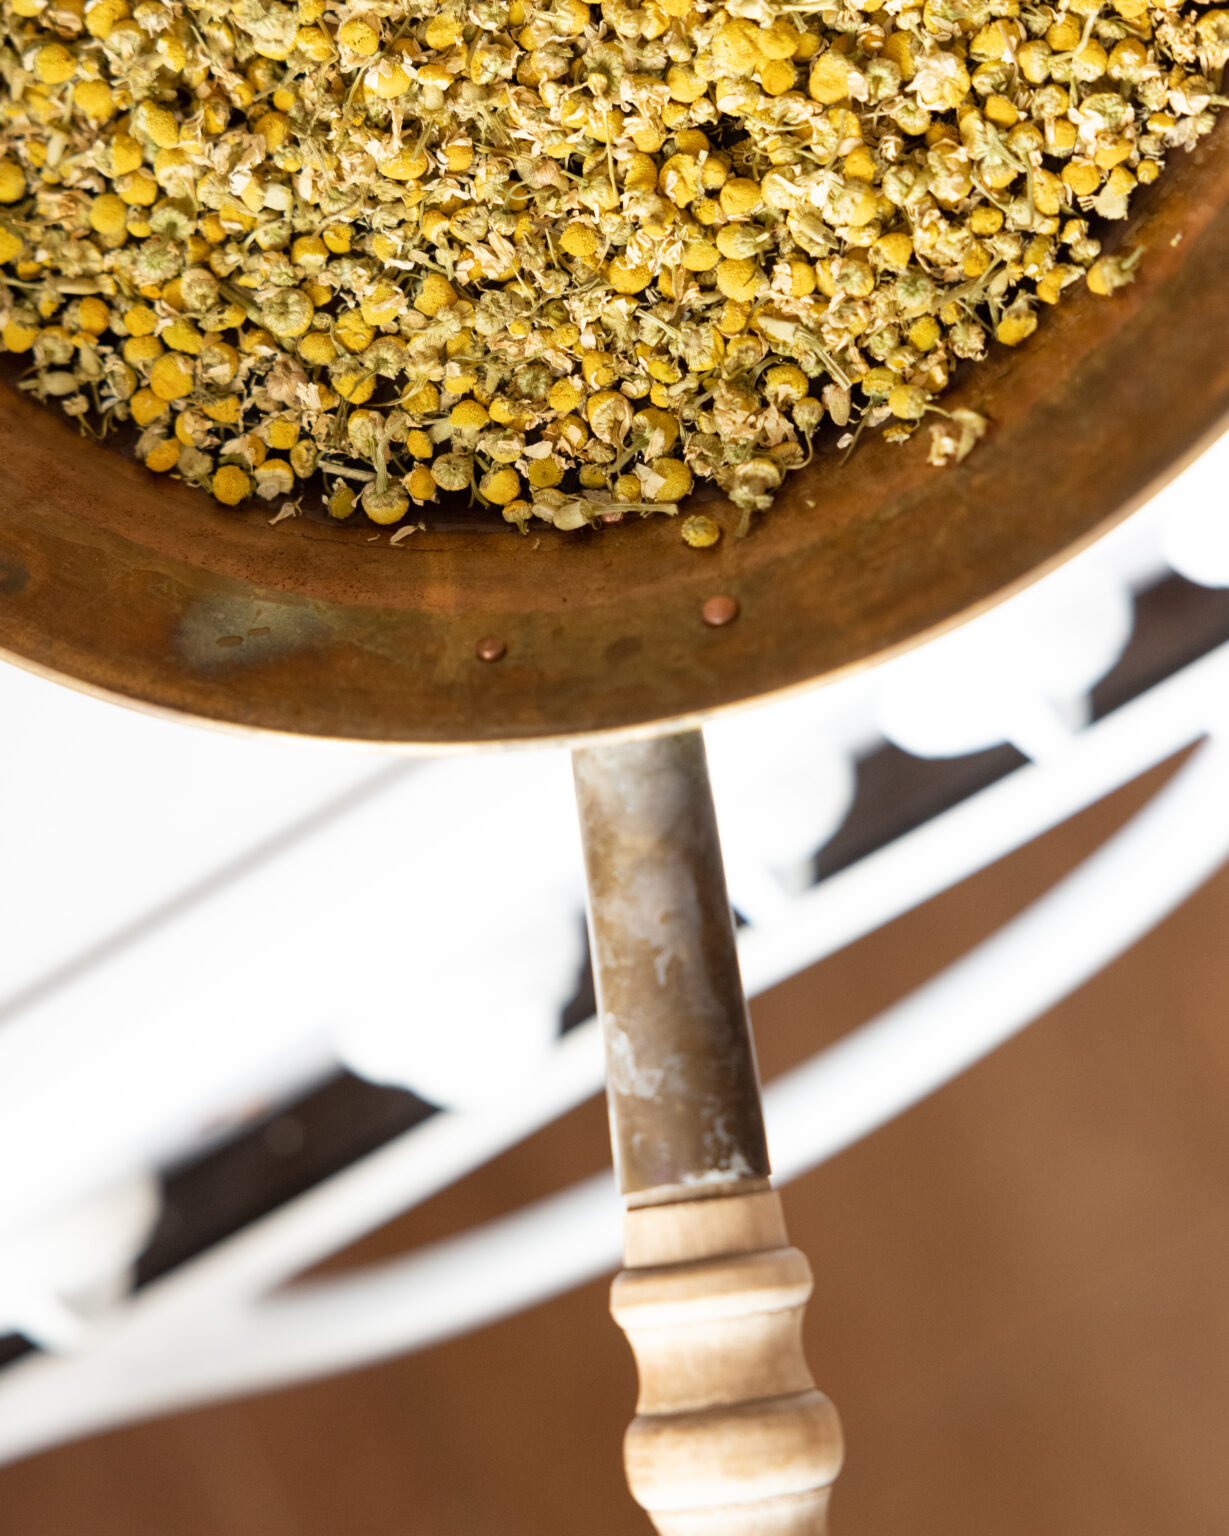
Supplies:
Step 1: Washing(only if you are going to dye cotton, skip step 1 if you are going to dye wool or silk)
Fill a bucket with plenty of water and 2 cups of household soda and leave your cotton in it for 24 hours. Rinse well the next day.
Step 2: Mordanting
Bring plenty of water to a boil in a large saucepan and add the alum and tartaric acid. Stir well. Bring to 80 degrees (not warmer) and add the wool, silk or cotton. Let it simmer for over an hour. Allow the fibers to cool slowly in the pickling bath. You can leave this overnight or get started right away.
Step 3: Dyeing
Put the chamomile in a washing bag and place it in your paint pan with 3-5 liters of water. Bring the dye bath to a boil and let it simmer for an hour. Lower the temperature to 30 degrees and add the wool, silk or cotton. You can leave the chamomile in the laundry bag in the dye bath while dyeing. Make sure that the fibers can 'swim' well. Bring the temperature to 80 degrees and let it simmer for an hour. Let the dye bath cool slowly.
MC Tips:
1) For a better result, you can soak the chamomile in water for 24-48 hours before starting step 3. Then pour the decoction through a laundry bag into the paint pan and top up with enough water.
2) Leave the fibers in the dye bath for an additional night after they have cooled down.
Step 4: Fixing
Rinse the fibers and soak in a bucket of water with 1 cup of vinegar for an hour. Then rinse well and hang to dry.

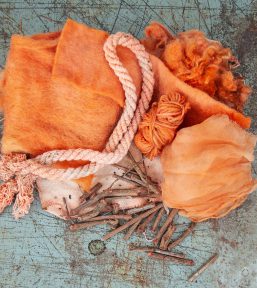
Natural dyeing can seem overwhelming sometimes. If you want to dive in straight away and learn as you go we advice you to consider our Oogst Sampler Starterkit. This set contains three dyes and a plethora of materials to dye with these three dyes. You get step-by-step instructions that walk you through the process and it serves as a primer on natural dyeing.

Wezenland 1
1791 AZ, Den Burg
Texel, The Netherlands